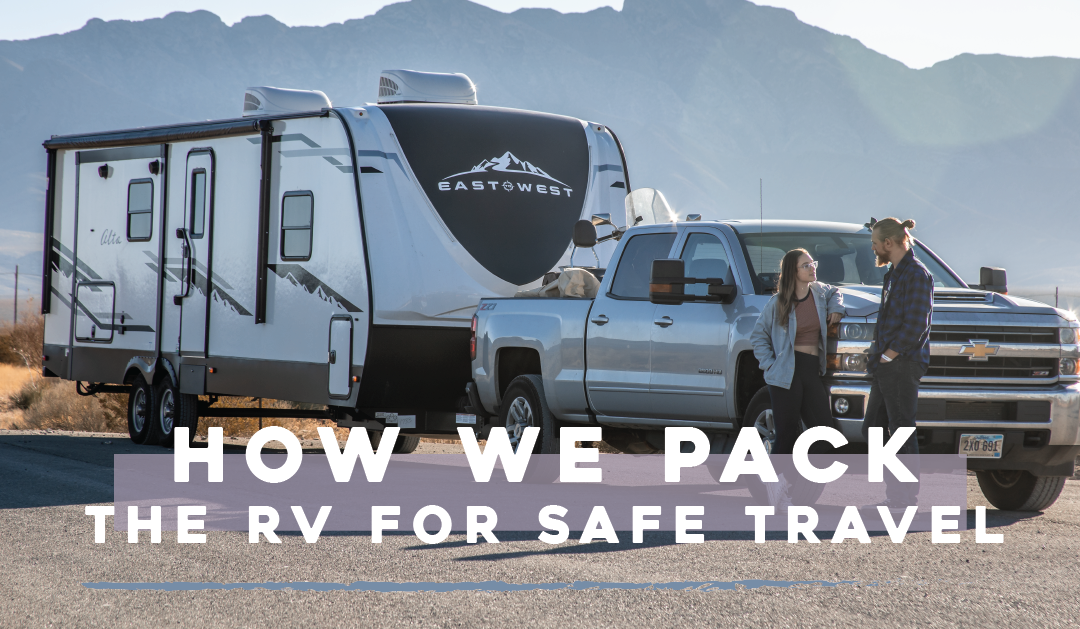
How We Pack the RV for Safe Travel

The least thrilling part of traveling in an RV has definitely got to be packing up and securing the RV before heading to our next destination. But after a long drive to an exciting new destination, the last thing you want to come home to is a mess or damage to the RV. In our time as full-time RVers, we have come home to a ton of different messes and our fair share of unnecessary damage, and we have learned exactly what to do and what not to do to keep our RV in the best shape possible after a drive!
Our pro tip is to divide and conquer.
Tyler does most of the outside work while Andrea secures everything inside. We’ve got our timing down pretty well these days, so there’s very little waiting around and we usually are ready at about the same time to start on the tasks that take two people. Dividing and conquering helps us be efficient with our time and not get in each other’s way, and as a side effect, we both have gotten very good at our jobs. If you are new to RV life and are curious about safe and effective ways to pack up your RV before your next getaway, keep reading!

How We Pack the RV for Safe Travel:
INSIDE (Andrea’s jobs)
- STOW THE STUFF. While Tyler is working on the outside, Andrea starts securing the inside by putting EVERYTHING away. This includes things like computers, monitors, Tyler’s bow, salt and pepper containers, the dish drying rack, and anything that is loosely sitting around the RV. Then, we like to stuff all of the cabinets with towels to fill in the empty spaces so our things don’t slide around on the drive. We’ll also wrap our glass bowls to help them stay in one piece!
- TAPE THE DOORS. We quickly learned after our olive oil fiasco, where we spent a few hours cleaning up oil from every inch of the RV, that it’s a good idea to secure cabinet doors with a latch or tape if you want to be extra certain no bump in the road will fling them open. We use painter’s tape so it won’t mess up any of the wood finish! (If you find yourself in an olive oil debacle in your RV, use baking soda to help dry it up!)
- PACK THE FRIDGE. We also pay attention to our fridge as we pack up. We generally put the heavy glass containers in the bottom drawer, which is plastic and sturdier than the shelves, and then evenly distribute the rest of the weight on the shelves. And we always double-check that the latch on the doors is secure!
- SWEEP. Andrea always sweeps the floors before putting the slides in. It is such an important step that we sometimes do it twice! We make sure to sweep the whole RV, even areas not in the direct path of the slides, underneath the carpets on the slides, and on top of all the carpets. By being so thorough, we make sure that no dirt or rocks get caught by the slides coming in, and that nothing can get wedged underneath the slides while we drive and cause trouble when we open our slides at our new location. It is a common RV issue for the slides to tear the laminate floors, and the best way we have found to prevent that from happening is to be thorough with your sweeping so the dirt and debris can’t get trapped under the slides and damage the floor.
- PUT THE SLIDES IN. Once the floor is clean, we put the slides in. We always put our slides in before removing the stabilizer jacks. The stabilizer jacks help minimize any bounce or wobble that comes from operating the slides, which can help keep the slides from catching any corners and ripping the floors.
OUTSIDE (Tyler’s jobs)
- DUMP THE TANKS. While Andrea is working inside, Tyler is taking care of dumping all of the wastewater tanks. This helps us both get better gas mileage and keep the tanks clean. We always treat the tanks before we drive as well, so the movement from driving will slosh the treated water around, cleaning the tanks. This method of cleaning your tanks can work with tank treatment packets (we use Porta-Pak for our black tank and Elemonate for our gray tanks), soapy water, or even vinegar for the gray tanks. We will usually use tank treatment packets for longer drives when we might want to use the bathroom in the RV, and the soapy water treatment for shorter drives when we aren’t worried about having a little extra weight from all the soapy water.
- GET SOME WATER. Something else we like to do is to add a little bit of water to the freshwater tank. We like knowing that we won’t run out of drinking water on a drive (especially if it’s a two-day drive), and having the option to use the RV bathroom has been a lifesaver!
- TURN OFF THE PROPANE. Some people leave their propane on while they drive, but we like to err on the side of caution. Plus, it seems pretty dicey to leave your propane running when you stop at a gas station (and it may even be illegal in some places), so we always turn our propane off.
- CLEAN UP. This probably goes without saying, but once everything is done, we retract our stabilizer jacks and put away our water hose, sewer hose and support, and Lynx Levelers in the pass-thru.
FINAL STEPS (two-person jobs)
- HITCH UP. When it is time to hitch up, we leave our wheel chocks and x-chocks in place until we are fully hitched up to protect the tongue jack. When hitching up, the truck can sometimes push or pull on the RV. Leaving the chocks in during this process will stop the RV from moving and putting unnecessary pressure on the tongue jack. The tongue jack can take some pressure, but the more you can alleviate, the better!
- UNPLUG. One of the very last things we do is put the power cord away. The slides and tongue jack use quite a bit of power, so we like to leave the RV attached to shore power as long as possible to keep our batteries happy.
- FINAL CLEAN UP. The last thing we’ll do is put away chocks, x-chocks, and any Lynx Levelers we used underneath the tongue jack. If we used any Lynx Levelers under the tires to level the RV from side to side, we will pull forward and put those away as well.
WALKTHROUGH
- This step is crucial! After everything is done, we always walk through the inside and outside of the RV and make sure we didn’t forget a step. It is easy for something small to slip your mind when you are busy trying to get everything done, especially if it’s early in the morning and there is a long day of driving ahead. Nine times out of ten, everything is ready to go, but we have caught a couple of mistakes that could have been catastrophic if we had missed them! It’s always worth it to take the extra two minutes and make sure everything is where it should be.
Learning how to pack the RV for safe travel isn’t nearly as fun as the traveling itself, but it’s definitely important. We have even learned to love the time and care we put into keeping our RV in good condition! Creating a routine around packing up is the best way to make sure you don’t miss anything, and will help you knock out travel days with ease and keep all of your things intact (which is the ultimate goal!) 😉
Tyler & Andrea
We are full-time adventure seekers taking on the world in our East to West RV! We have seen so much personal growth during our first year of nomad life that we wanted a way to capture all of those moments and share them with you! Our goal is to inspire everyone to chase after their dreams and always seek adventure in whatever they do.
podcast
blogs


CONTACT US
OR, Get Updates
We'll shoot you a message when we release big projects
